CupCakes

CupCakes
Vanilla and Chocolate Smartie Galore

Wednesday, 12 January 2011

Orange and Chocolate Cake


6oz Butter
6oz Caster Sugar
6oz Self Raising Flour
3 Eggs
1 Tsp Baking Powder
1 Tsp Bicarbonate of Soda
100g Chocolate (Chopped)
Zest of 1 Orange


Cooking Time: 15 minutes on pre heated oven 180c/Gas Mark 5

Serving: 2 x 7inch round tines / double layer sponge cake


1. Pre heat the oven and line the cake tins
2. Cream together the butter and sugar with a whisk until smooth and combined
3. In a separate bowl whisk together the eggs for a few minutes
4. Whisk the eggs into the creamed butter mixture until all combined
5. Grate the orange zest into the mixture and fold in
6. Measure out the flour, baking powder and bicarbonate of soda and sieve into a bowl
7. Chop the chocolate into little bits and then coat in the flour (this prevents it from sinking)
8. Fold the flour mixture gently into the egg mixture until it forms a nice smooth consistency and the chocolate drops are folded in evenly
9. Divide the mixture evenly between the two tins and put in the oven for 15 minutes or until golden
10. When done, remove from the oven and the leave in the tin to cool for 5 - 10 minutes before transferring to a wire cooling rack

Buttercream Icing
1 Quantity of the perfect buttercream icing from this site
Juice from 1 orange
Flake or Ripple Chocolate Bar
1. Make the icing as described on this website
2. Add the juice and fold in, I added about 2/3 of the juice from one orange but you can add as much as you like, depending on how strong you want the flavour
3. Divide the mixture between the sponges, putting a little more on one than another
4. Put the sponge with the more icing on the bottom and place the other sponge layer on top
5. Chop / Crumble the chocolate bar on top and then enjoy!

Thursday, 6 January 2011

Trifle (Basic and Quick)


Jelly Packet (Strawberry)
Blamange / Custard (Strawberry)
Strawberry Swiss Roll
Tin of Fruit / Frozen Fruit
Elmlea Double Cream

Cooking time: None but you need to heat the blamange and then chill the dessert
Serving: 6 people, using a nice flan dish / serving bowl

1. Slice the swissroll into medium slices and put around the bottom of the serving dish
2. Make the jelly following the instructions on the packet and pour into the serving dish
3. Pour the fruits into the jelly and put in the fridge to set
4. Make the blamange / custard following the instructions on the packet and once the jelly has set pour the custard onto the jelly and put back in the fridge to set
5. When you are ready to serve the jelly whether this is the same day or next day whip the cream into soft peaks but not so it it too stiff and spread gently over the top of the custard
6. If you desire you can scatter chocolate or fruit over the top and then tuck in and enjoy!

Friday, 31 December 2010

Mincemeat Tart for Christmas or Just Anytime!


Jar of MinceMeat
6oz Self Raising Flour
3oz Butter
Water to mix
Milk (To brush with)


Cooking time: 190c for approx. 20 minutes minutes
Serving: 6 people (10" round flan dish)

1. Grease the flan dish with butter and pre heat the oven
2. Put the flour and butter into a mixing bowl and rub in till it forms breadcrumbs
3. Add the water a tbsp at a time and with your hands mix the ingredients into a dough
4. Chill the dough for approx. 10 minutes this makes it easier to roll
5. Scatter a clean smooth surface with flour and a rolling pin (this prevents the dough from sticking to the surface)
6. Roll out the pastry so that it is approx 4 mm in depth.
7. Transfer this to the dish, the pastry should cover the bottom of the dish and come up the sides
8. Cut away any extra pastry
9. Empty the jar of mincemeat into the pastry case
10. With the left over pastry roll it out again and using cutters, cut out shapes or design your own to place on top of the mincemeat tart.
11. Using a bit of milk brush the shapes and around the edges of the tart, this helps the pastry to brown and go slightly golden.
12. Then put in the oven and bake for 20 minutes or until piping hot and golden
13. You can either leave to cool and eat cold and reheat if wish or heat warm with a nice dollop of cream, ice cream or custard!


Monday, 27 December 2010

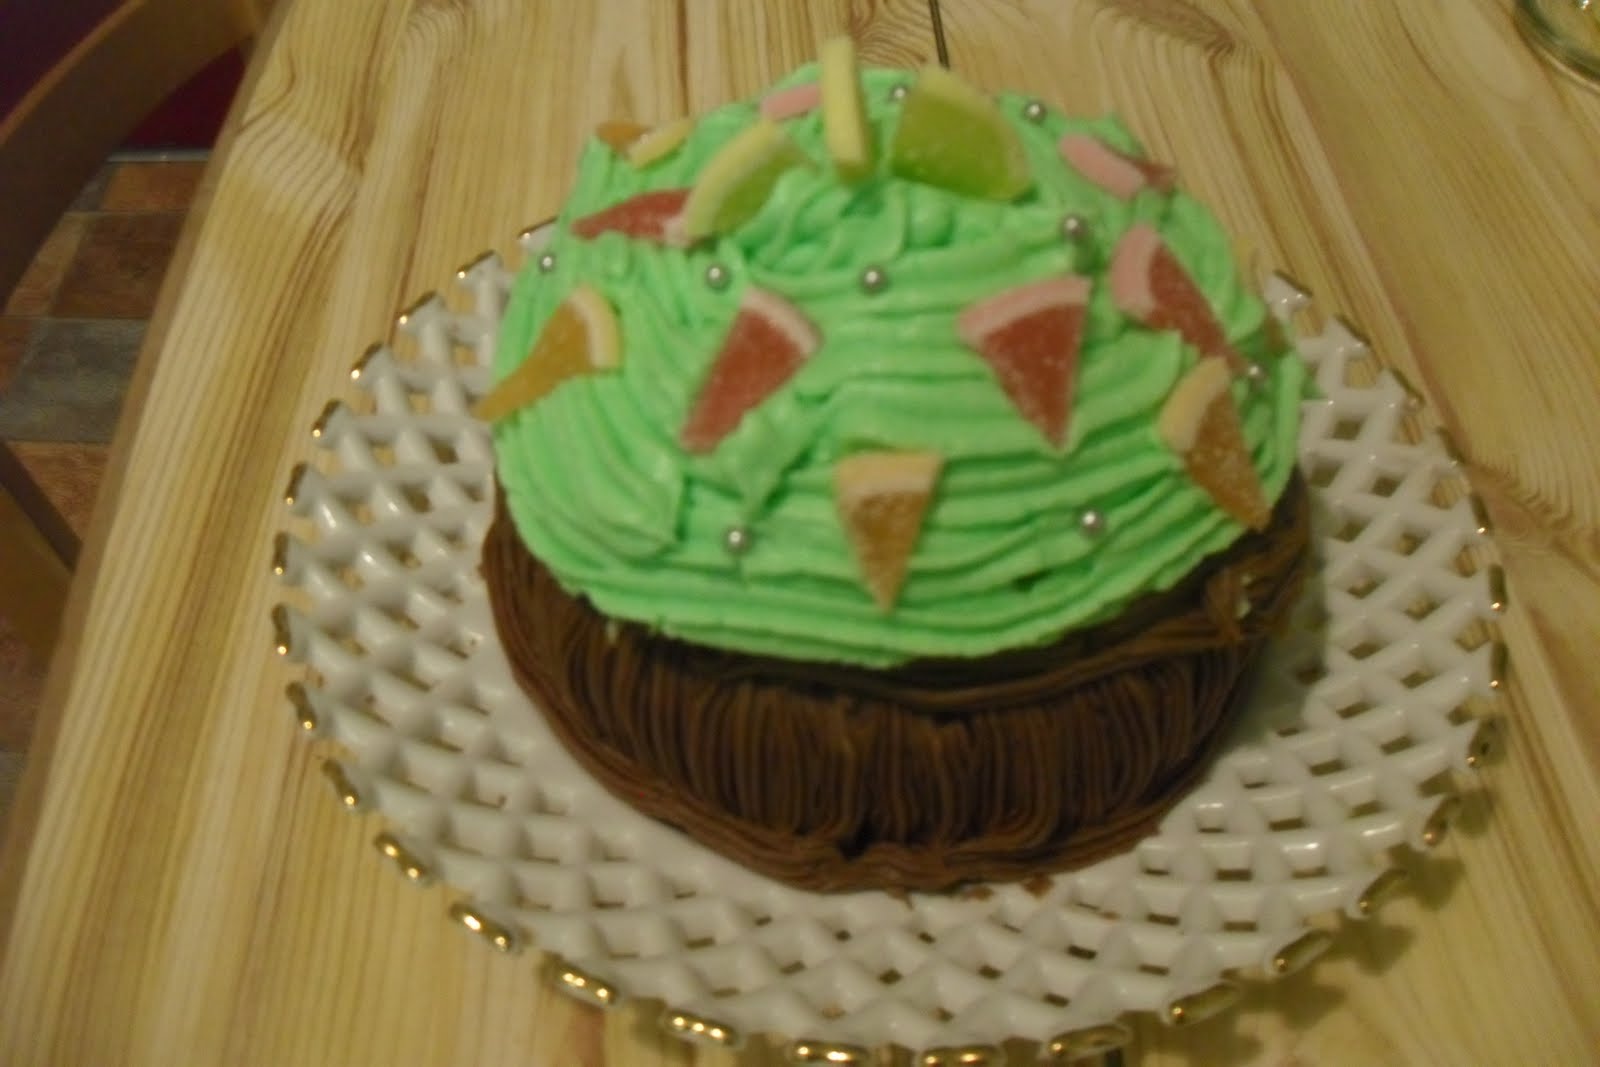
Christmas Tree CupCake


6oz Self Raising Flour
6oz Butter
6oz Caster Sugar
3 Eggs
1 Tsp Vanilla Essence
100g Chocolate drops
1 Tsp Baking Powder
1 Tsp Bi Carbonate of Soda

Cooking time: 30-45 minutes on 170c / Gas Mark 4
Serving: 1 Large cupcake

1. Pre-pare your cupcake tin by greasing it well with butter and putting it on a baking tray
2.Cream together the butter and into a bowl until it is smooth
3. Whisk the eggs and vanilla together in a separate bowl
4. Whisk the eggs into the creamed butter mixture for approx. 2-3 minutes until the mixture is smooth and fluffy
5. Into a separate bowl sieve the flour, baking powder and bi carbonate of soda
6. Add the chocolate chips to the flour mixture and coat well
7. Add the flour mixture to the butter mixture and fold in gently but smoothly ensuring it is all mixed in well
8. Once mixed together divide the mixture evenly between the top and bottom of the cupcake
9. In the bottom part of the cupcake insert the insert if you have one as shown by the instructions (this means you then have a hole which you can fill with extra filling, yum!)
10. Put in the Oven and bake, at about 20 minutes through cover the sponge with baking proof paper so it does not burn on top but cooks through
11. The bottom part of the cupcake will take longer to bake than the top
12. Once each part is done, remove from the oven and leave to cool for a few minutes before removing from the silicone case onto a wire cooling rack

Decoration and Icing
12oz Icing Sugar x 2
4oz Butter x2
1 Tsp Vanilla Essence
2 Tbp Cocoa Powder
Orange and lemon slices
Silver ball balls

1. Prepare the two batches of icing as follows;
2. Cream the butter in a bowl until soft
3. Sieve the icing sugar into the butter and mix with a metal fork until it is combined
4. Mix witha fork or a whisk for a few minutes until it forms a smooth consistency but not runny! Otherwise it will not hold its shape when piped
5. In one batch add the vanilla and mix to the other sieve in the cocoa powder and mix well
6. I decorated the top of the cupcake first using a swirl piping knozzle and piping bag and piped around the cupcake
7. I then added slices of organge and lemon to be the christmas lights and then little silver ball balls for the tinsel effect
8. I then decorated the bottom before putting the top on top. I did this using a piping tube and a small knozzle to make the lines more defined like bark. I did this by starting at the bottom of the cake and piping up and just over the edge to get a smooth finish.
9. I then put about a good cm of buttercream in the middle to hold the top and bottom together
10. Carefully lift the top of the cupcake onto the top of the bottom and press gently down
11. Then do any last bits of icing in the middle to make it form nicely together and there you have it a green cupcake or what I like to say a Christmass Tree!

Thursday, 23 December 2010

Coconut Florentine Slice


8oz Chocolate (Melted)
2oz Butter
4oz Sugar (Demerara Sugar)
1 Egg
2oz Dried Fruit
2oz Glace Cherries (Chopped)
4oz Dessicated Coconut


Cooking Time: 40 minutes on 140c/Gas Mark 3
Serving: 7inch sqaure tin (I got 9 good size Pieces)

1. Grease your tin with butter
2. Melt the chocolate in a bowl over hot water
3. Pour this into the tin and make sure it is even throughout the tin and then leave to set in the fridge or freezer while you prepare the topping
4. In a bowl cream together the butter ana sugar
5. Add the egg and beat thoroughly until it is all combined
6. Add the dried fruit and chopped cherries and mix well
7. Add the coconut and mix well
8. Remove the baking tin from the fridge and ensure the chocolate is set
9. Pour the topping onto the chocolate and smooth out evenly
10. Press down lighlty with a fork and put in the oven to bake for 40 minutes or until golden
11. Once done, leave in the tin to cool for a while before cutting out slices with a knife and transferring to a wire cooling rack

N.B. I then wrapped these up in silver foil and ribbons and gave them to friends as presents!

Thursday, 16 December 2010

White Christmas Chocolate Cake with Chocolate Buttercream


6oz Self Raising Flour
6oz Caster Sugar
6oz Butter
3 Eggs
1 Tsp Baking Powder
1 Tsp Bi carbonate of Soda
150g White Chocolate (Melted)
Cooking Time: 15 minutes on 180c/ Gas Mark 5
Serving: 1 2 tier Sponge Cake

1. Grease two victoria sponge tins (7") with butter and a touch of flour
2. Chop the chocolate and place in a bowl over hot water to melt, stirring occasionally to ensure it does not burn
3.Cream together in a bowl the butter and the sugar
4. In a separate bowl whisk the eggs together
5. Whisk the eggs into the butter mixture until it is well combined approx. 2-3 minutes
6. Sieve the flour, baking powder and bi carbonate of soda into the creamed mixture and fold in gently till it forms a nice smooth consistency
7. Once all the chocolate is melted add to the cake mixture and fold in
8. Divide the mixture evenly between the two cake tins and bake
9. Once done, remove from the oven and leave to cool for a few minutes before transferring to a wire cooling rack
Buttercream Icing and Decoration
16oz Icing Sugar
51/2oz Butter
1 Tbs Milk
1/2 Tsp Vanilla Essence
2 Tbs Cocoa Powder

1. Prepare the buttercream but creaming the butter in a bowl
2. Sieve in the icing sugar and add the milk and whisk together with a whisk or fork to form a good smooth strong consistency to use for piping
3. Remove about 1/5 of the mixture and put to one side, to this add the vanilla essence
4. To the rest sieve in the cocoa powder and mix in well
5. Divide the chocolate buttercream between the two sponge and spread out evenly with a damp knife
6. Place one sponge on top of the other
7. Fill a piping bag and I used a Swirl knozzle and pipe a design around the cake! I did a christmas one as it was for a christmas party and then enjoy!

Thursday, 9 December 2010

Blackberry Swirl Cupcakes with Blackberry Cream Cheese Butter Icing


4oz Butter
4oz Caster Sugar
4oz Self Raising Flour
1 Tsp Baking Powder
1 Tsp Bi Carbonate of Soda
2 Eggs
1 Tsp Vanilla Essence
2 Tbs Blackberry Jam / Conserve
1 Tbs Milk

Cooking Time: 180c / gas mark 5 for 15 minutes
Serving: 12 Cupcakes

1. Cream together the butter and Sugar with a whisk until creamy
2. In a separate bowl whisk the eggs and vanilla essence together
3. Slowly whisk the eggs into the butter mixture until combined
4. Sieve the flour, baking powder and Bi Carb into the butter mixture
5. Fold in gently until it is well combined
6. Add the Jam and milk and fold in until you have a swirl mixture of Jam running through
7. Divide the mixture evenly between the cupcakes cases and bake for approx. 15 minutes.
8. Once done, remove from the oven and leave for 10 minutes before transferring to a wire cooling rack.

Blackberry Cream Cheese Butter Icing
2oz Cream Cheese (Low Fat Tesco own is what I used)
2oz Butter
12oz Icing Sugar
2 Tbs of Blackberry Jam / Conserve

1. Cream together the cream cheese and butter in a bowl until smooth (You can use a metal spoon for this)
2. Sieve the icing sugar into the creamed cheese mixture
3. Mix the mixture together well using a metal fork until it is combined (Do not over mix otherwise it will become runny)
4. Add the blackberry Jam and mix into the mixture until all combined
5. Put a good size teaspoon or more on each cake and smooth out with a knife
6. If you wish and have some around you could then top each with a blackberry!

N.B. You can add any flavour of Jam you wish
N.B. If you have a sweet tooth, add more Jam, but I found this plenty
N.B. Because they contain cream cheese its best to eat these cupcakes fresh